Digital Elevator Survey – Improving Modernization Site Surveys
May 1, 2024
This paper was presented at Elevcon 2023 in Prague, Czech Republic.
KEY WORDS: Modernization, Site Survey, 3D Scanning
Abstract
An accurate site survey is the first step in creating a successful engineered modernization. In the past, site surveys have used tape measures and pen and paper. This has recently changed to use laser measurements and mobile devices, but basically, the process has remained the same — just the media has changed. For complex projects, KONE has started to use 3D scanning to improve site survey accuracy, minimize disruption to customers, improve the safety of personnel and increase overall productivity of the engineering.
1. Introduction
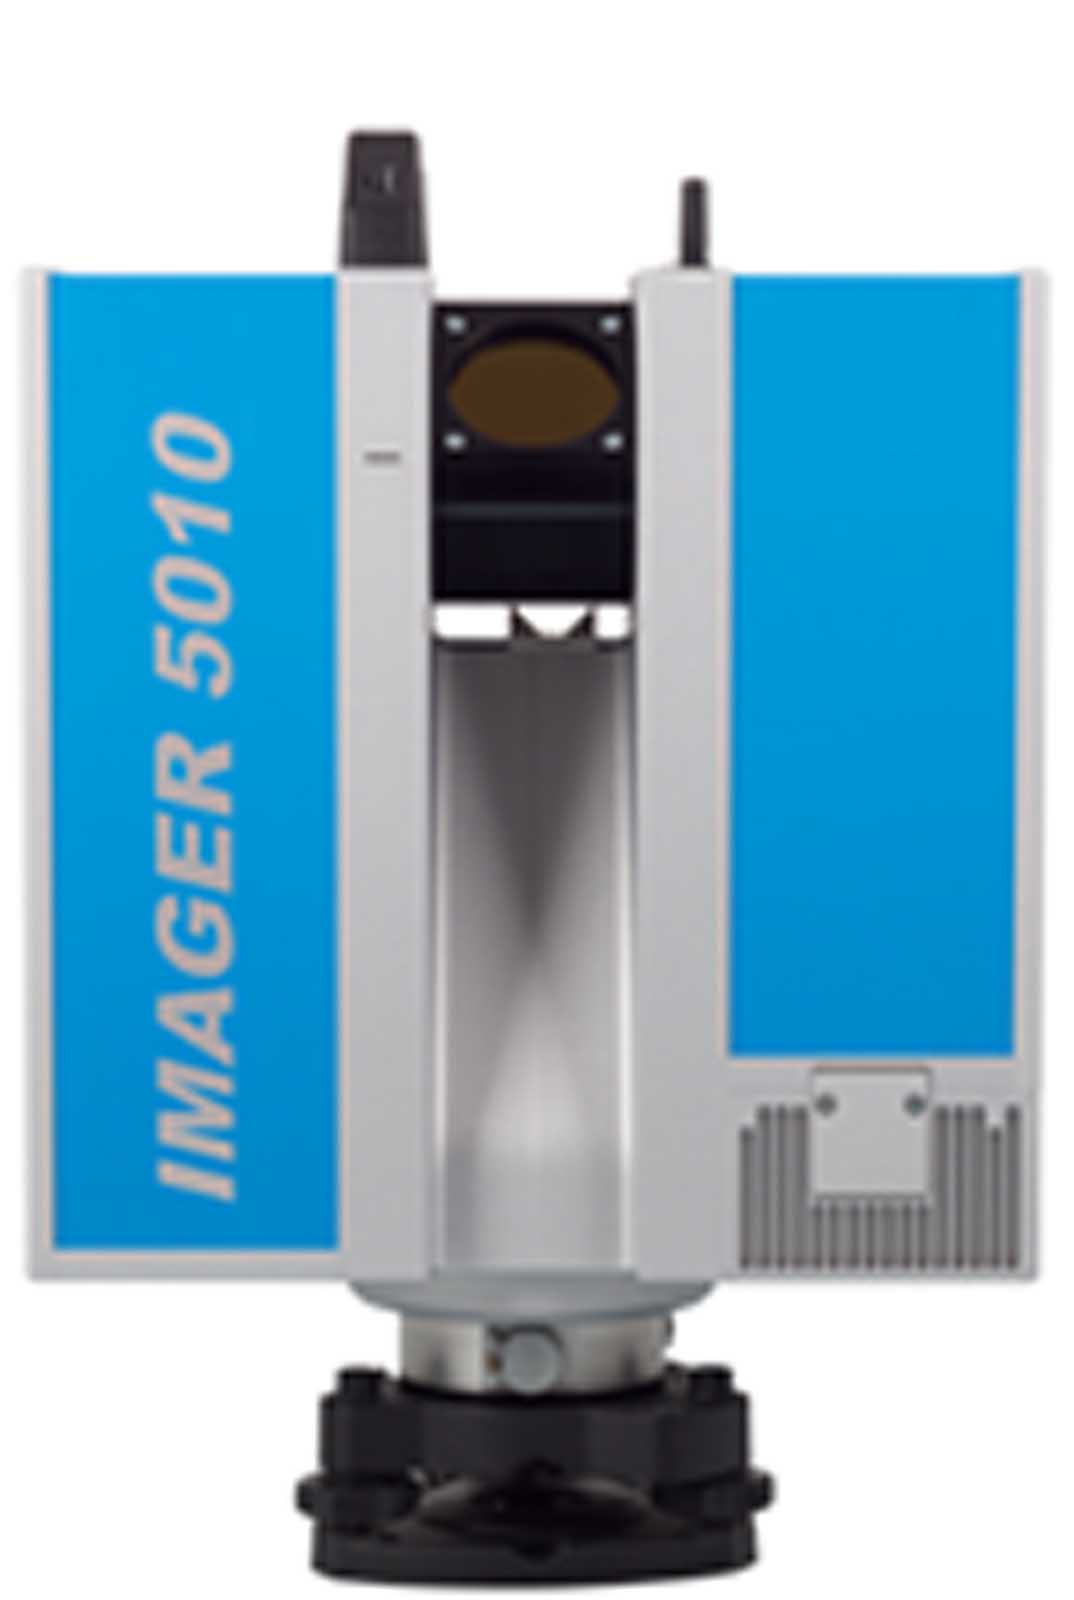
The starting point for engineering a modernization is to fully understand the existing installed equipment so that interfaces between the installed equipment and the new equipment can be correctly engineered. Traditionally, this has been achieved by using tape measures, rules and recording the data onto paper forms or plain paper. Over the years, tape measures have been replaced by laser measures (Figure 1), and blank forms and plain paper have been replaced by electronic means, including software such as PRONTOFORMS (Prontoforms) and XECOM Information Technologies Pvt. Ltd. SmartSiteSurvey (Smartsitesurvey) tablet applications, but the overall process has not changed from measuring and recording the measured data.
The Digital Elevator Survey is another tool in the KONE site survey toolbox that includes the Elevator Performance Analyzer and E-Site Survey to measure and fully understand existing buildings, their elevator installation and how the elevators are used to ensure a successful modernization.
The Elevator Performance Analyzer (Batey et al., 2016) is a 3D sensor tool for measuring passenger elevator use, the number of passengers entering and leaving an elevator and at what floors. This produces a building-specific traffic profile to enable simulation of current and future elevator performance.
The KONE E-Site Survey (Kontturi et al., 2012) is a tool that, by measuring electrical current and elevator accelerations, determine the moving masses in an elevator system, e.g.,:
- car mass
- CWT mass
- rope masses
- traveling cable masses
With regular shapes, squares and rectangles, measuring locations of existing equipment is relatively easy, but once shapes become irregular or circular, measuring distances becomes significantly more difficult.
Sometimes multiple trips to a site by the survey team are required due to the fact that it is almost impossible to measure everything in the time frame given, and it only becomes apparent that some data is missing during the design phase. The type of items that can be overlooked include electrical ducting, light fittings, air conditioning ducting, etc.
2. Digital Elevator Survey — Basics
The first step in preparing for a Digital Elevator Survey is to understand the scope of the modernization and determine for what the scanned data is going to be used. This enables the following to be determined:
2.1.1 Output formats:
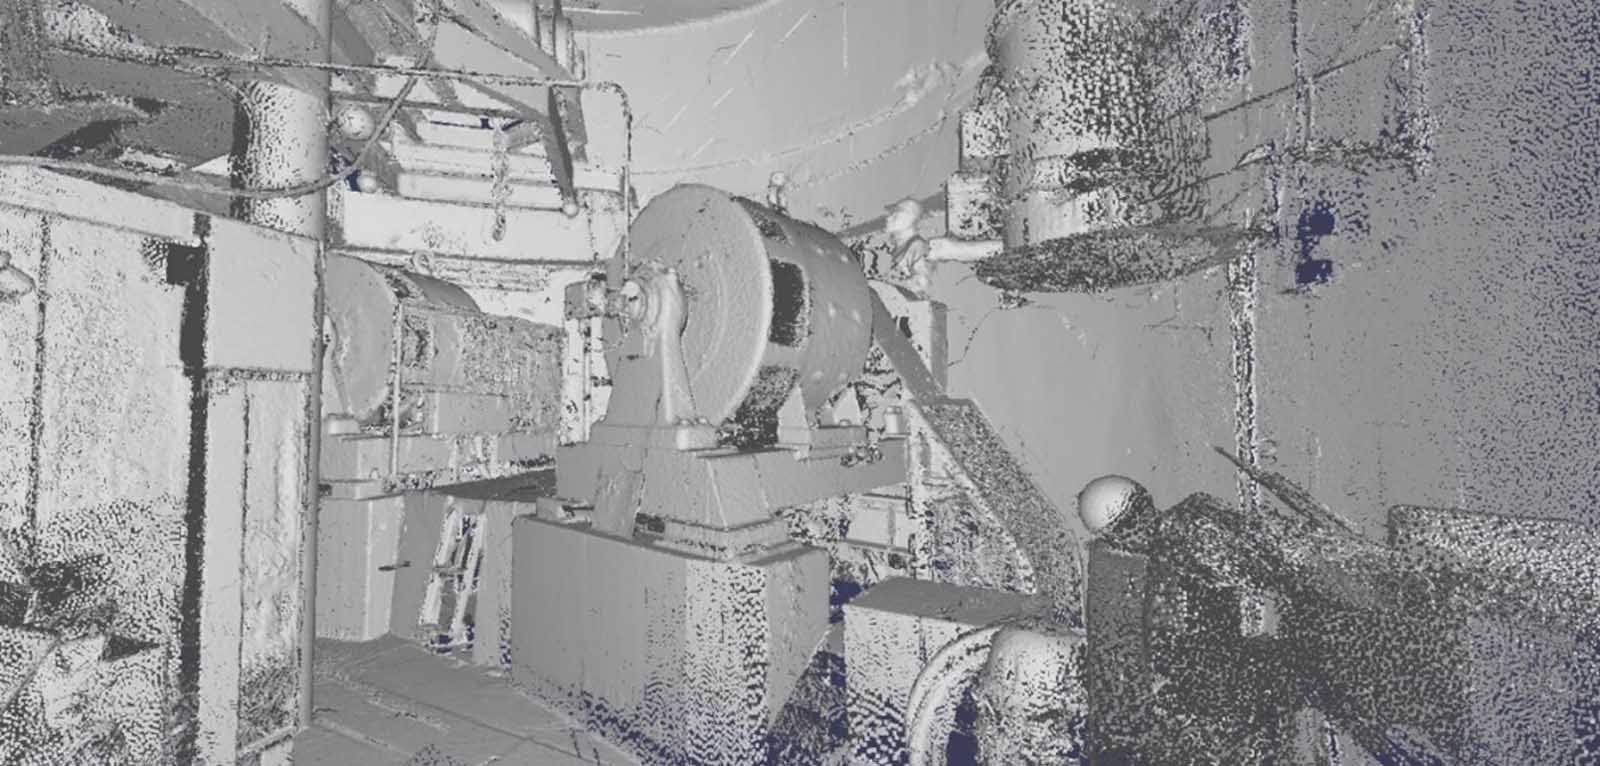
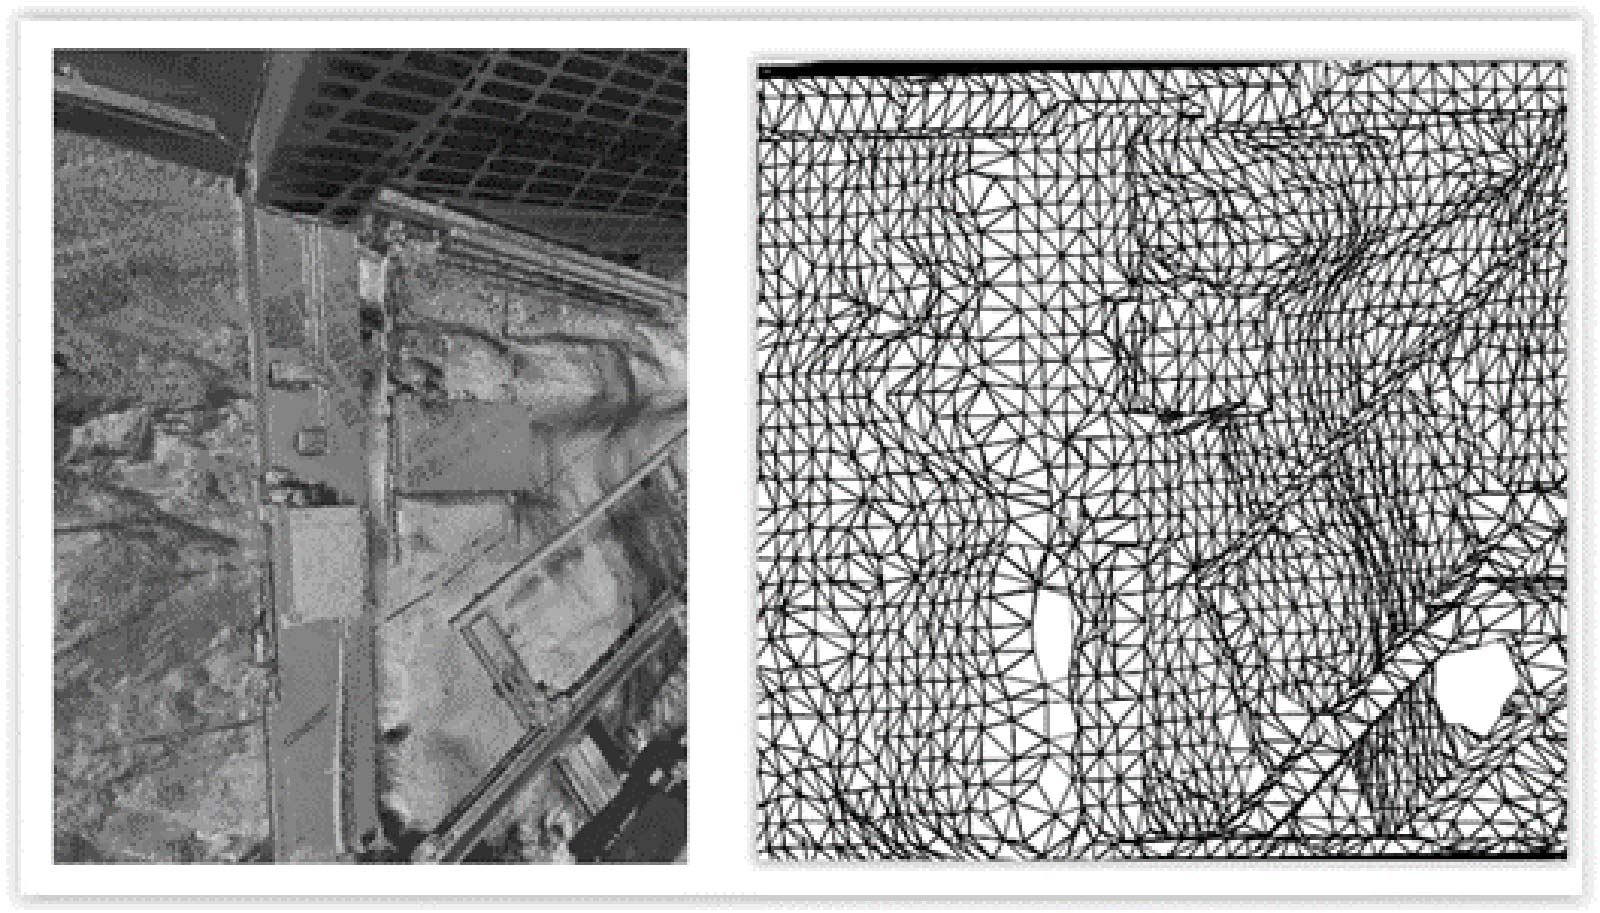
- 3D mesh model– is a structure build consisting of polygons with each point having x, y and z coordinates (Figure 2). While it can take a large number of polygons to create meshes that approach photorealism, due to their simplicity they are faster to process, and file size is significantly smaller than the respective point cloud file.
- Point Cloud – a point cloud is a set of data points defined by a given coordinate system produced by 3D scanning used to define the shape of a physical system. These files are very large, in some cases many gigabytes.
- BIM model
- XR (Extended Reality) — this includes AR (Augmented Reality), VR (Virtual Reality) and MR (Mixed Reality).
- Required accuracy:
- Dependent on what it is going to be used for and any time restraints (Figure 3). Black and white photogrammetry can be a couple minutes per scan quicker than color photogrammetry.
- Use of targets — either with target markers or spherical targets, the use of targets allows you to facilitate the data acquisition activity, making the final result precise and accurate.
3D scanning can produce very accurate data, but there are limitations in which environments it can be used:
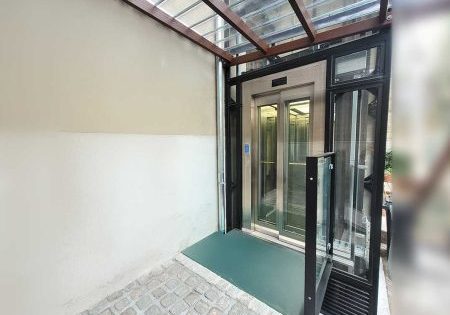
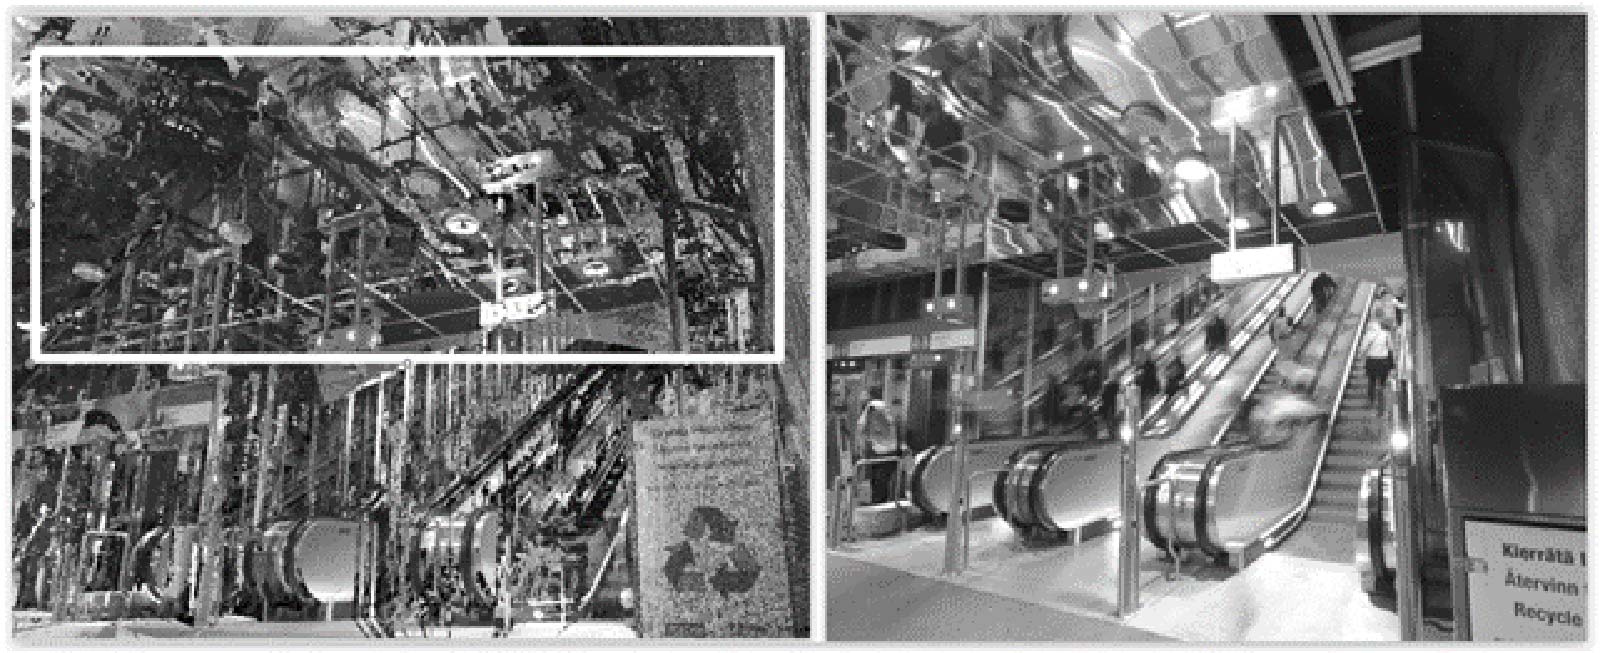
- Where there are reflective and transparent surfaces
- Glass lift shafts and doors
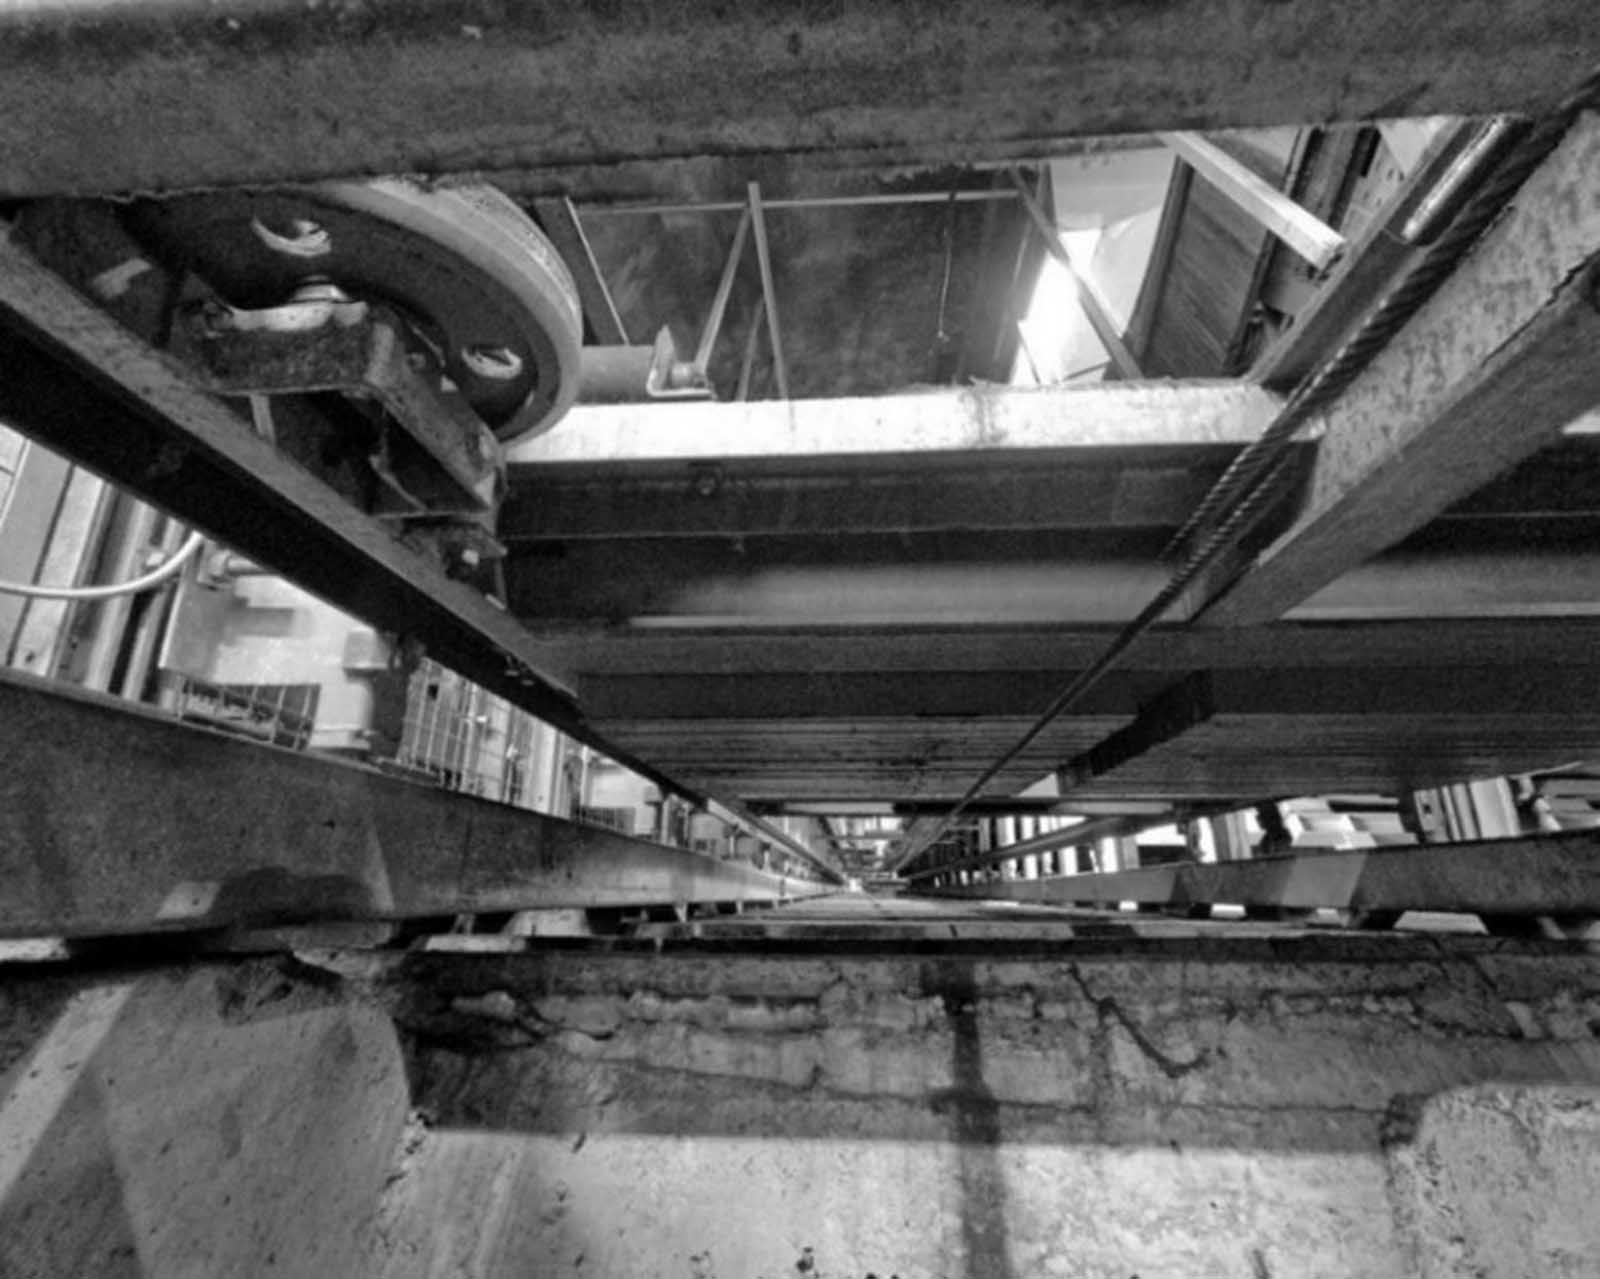
- Mirrors and mirror finished materials (Figure 4)
- Areas with high vibration levels
- Slender buildings when wind speeds are high
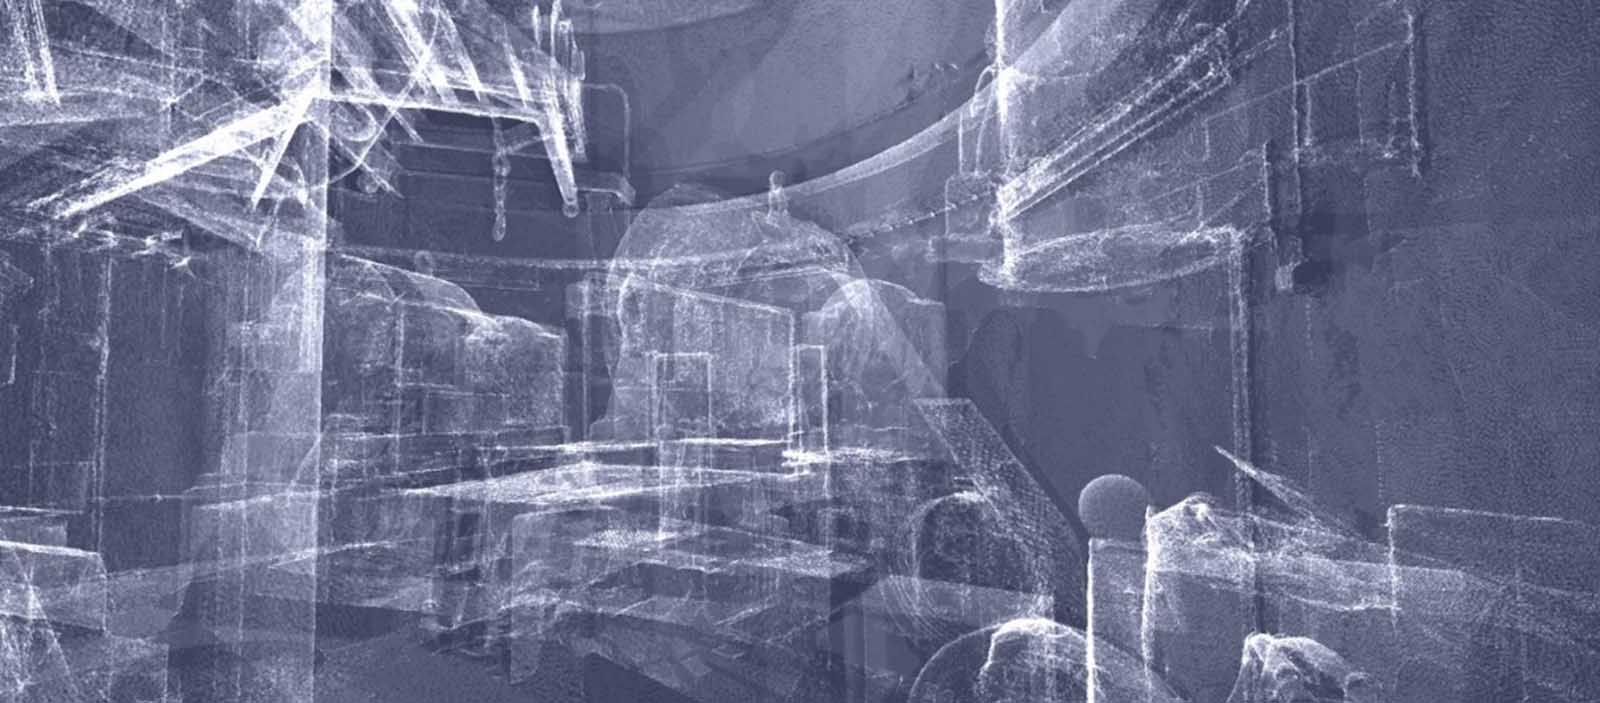
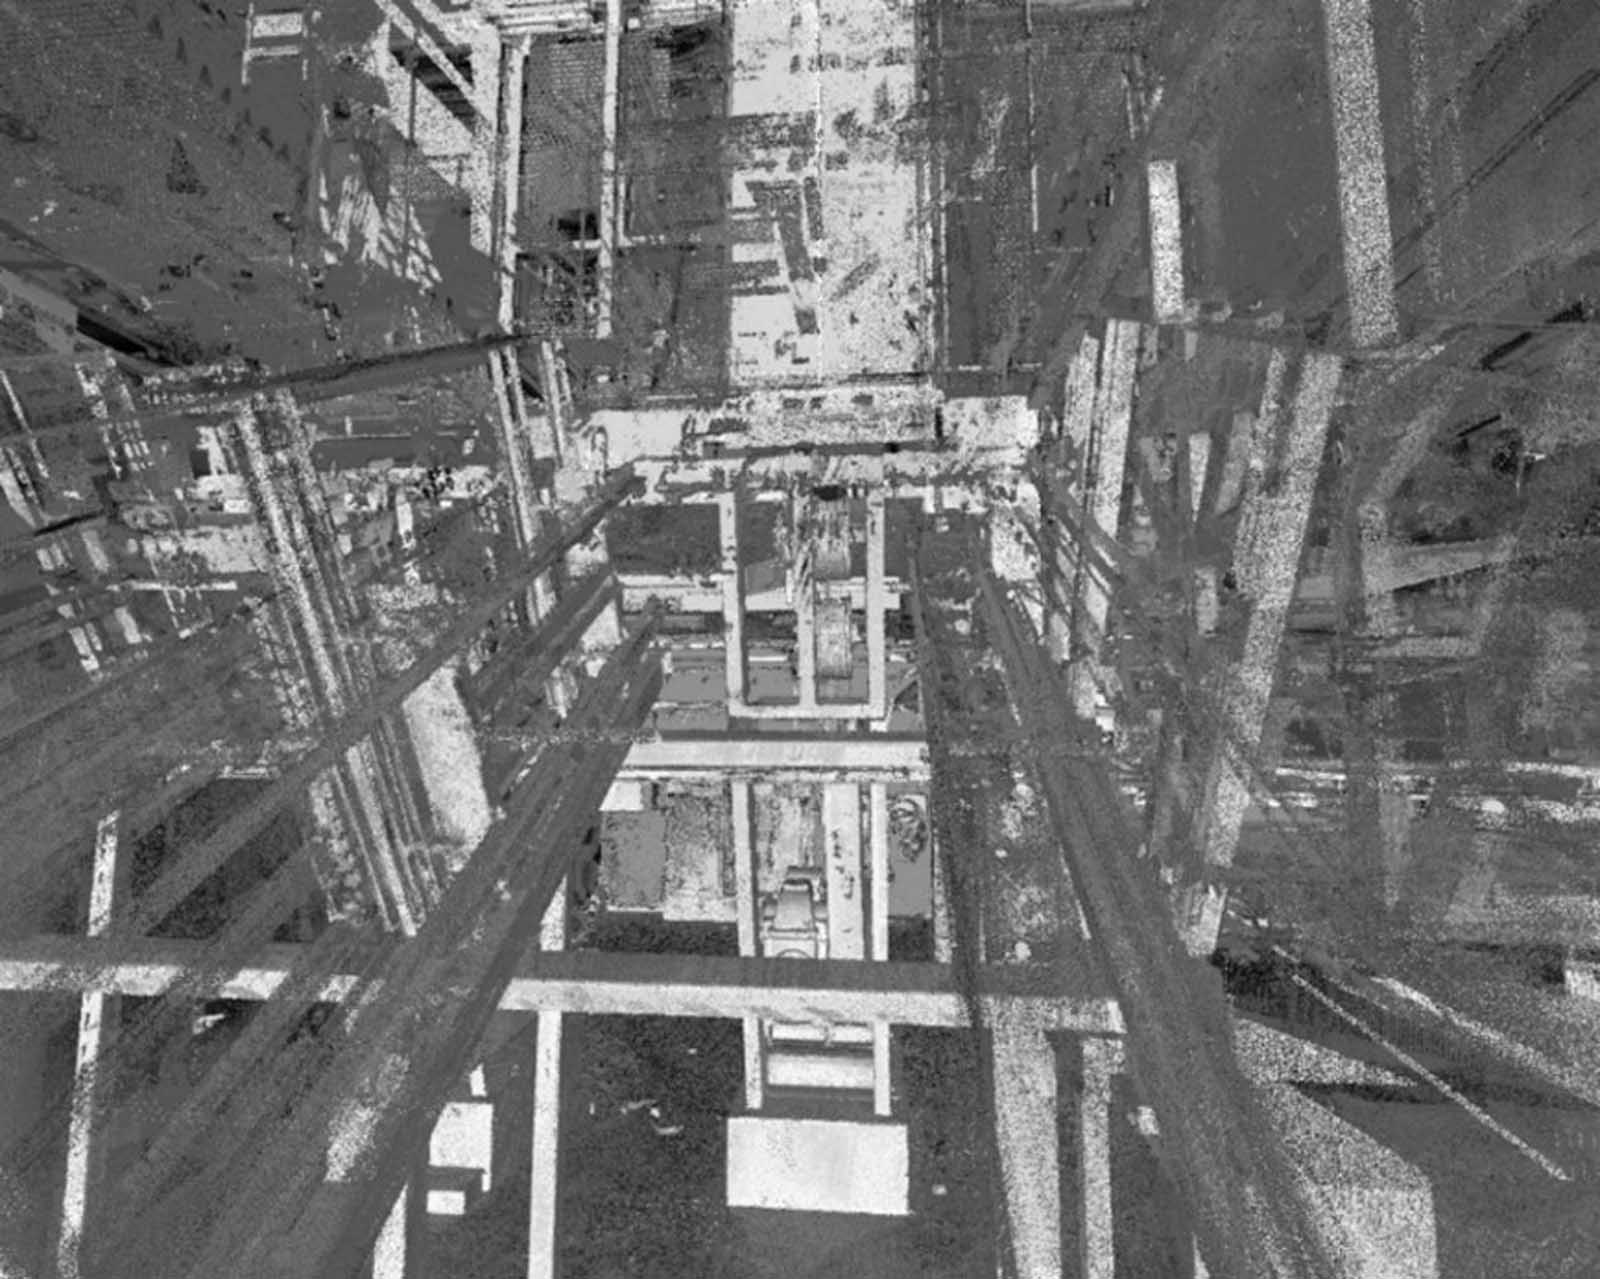
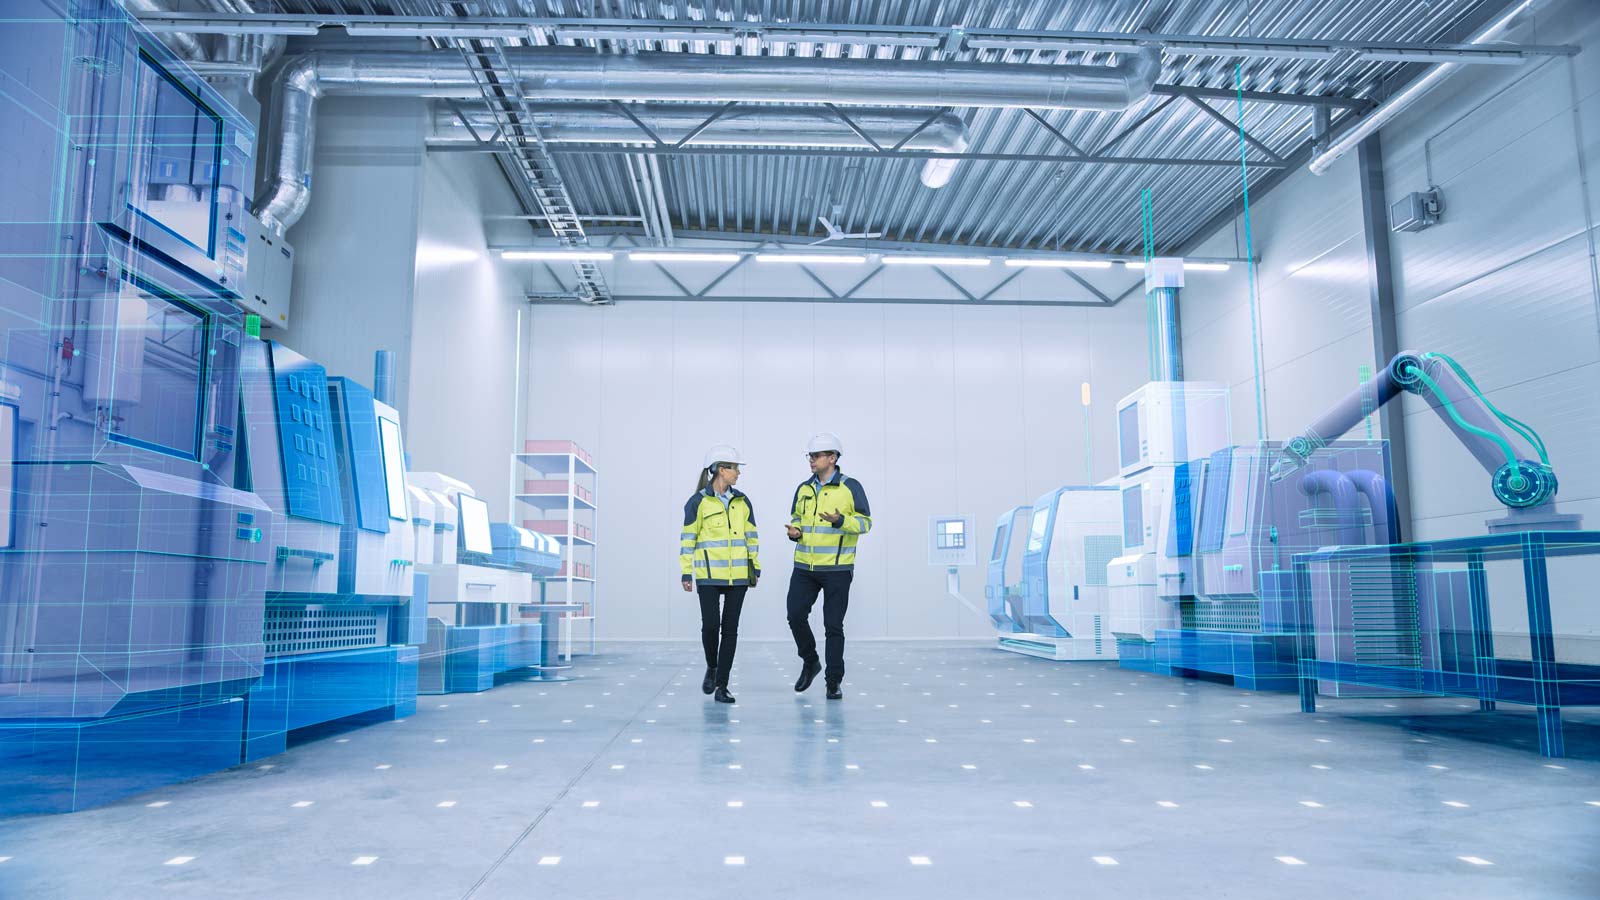
Scanner misconceptions are that a laser scanner is an X-ray. It is not; however, it is a line-of-sight device and does not see through solid entities, although there are different software programs available that appear to create an X-ray type view by combining many scans from different locations, these still only show the outside surfaces of structures (Figure 5).
3. Accuracy
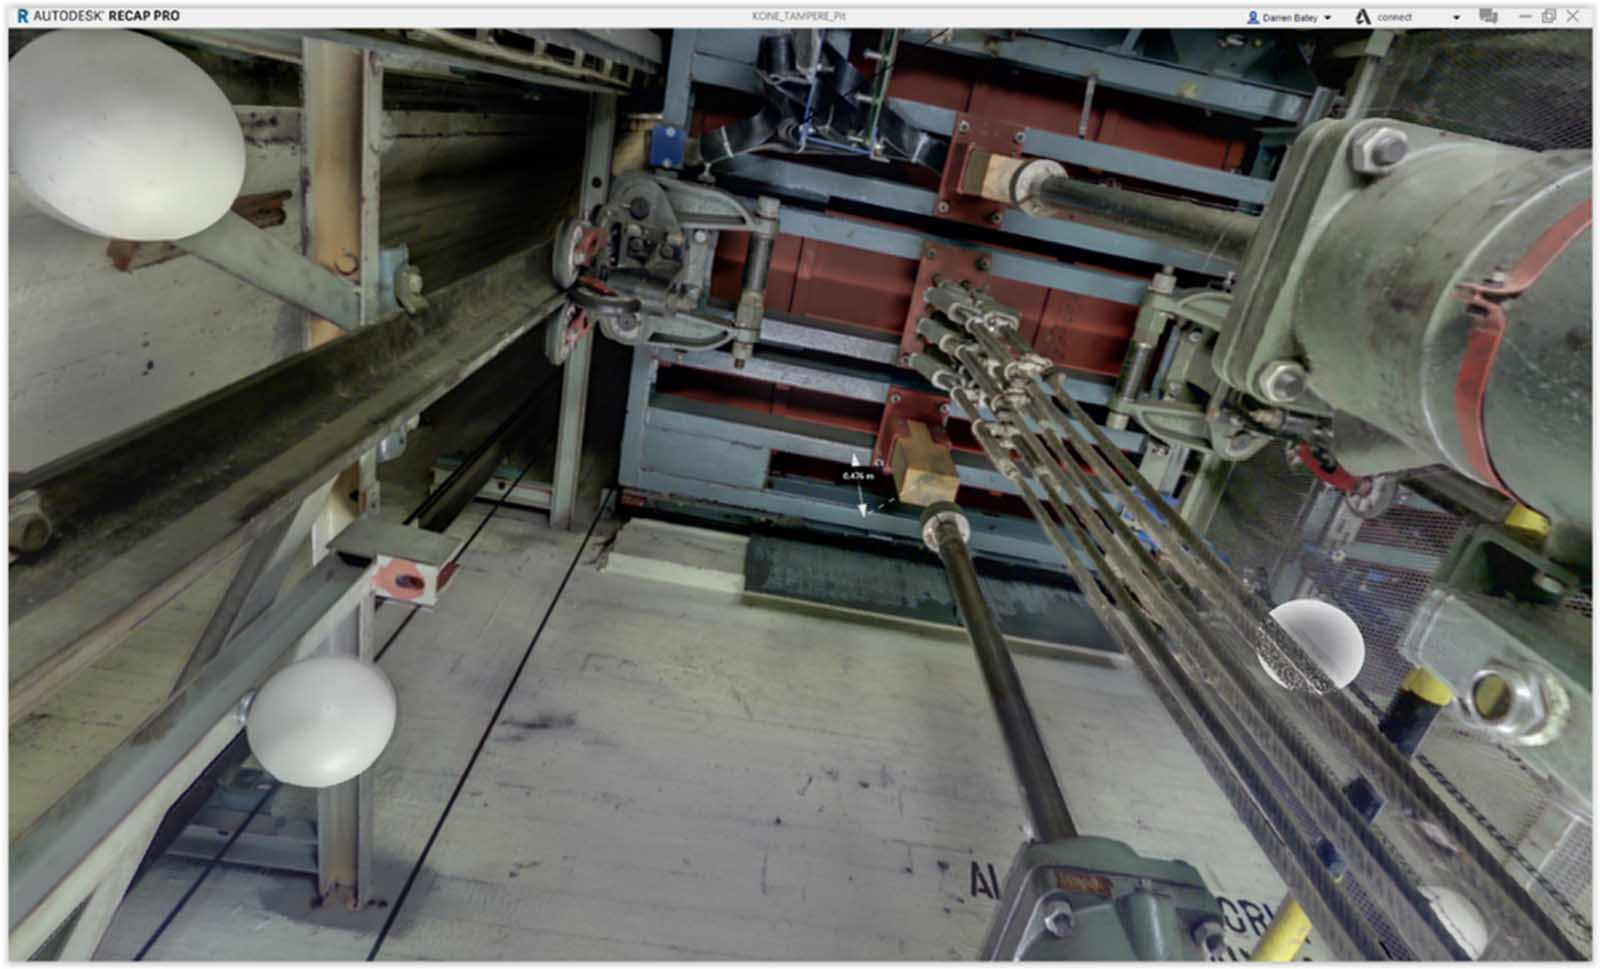
In the first cases where we were not sure how accurate the 3D scanning would be, we selected projects where we had already completed a traditional site survey or where we would still take manual measurements of the key critical items. When analyzing the manual measurements and making measurements of the point cloud using Autodesk ReCap, the following was discovered:
- That measurements of individual items like machine beams were all within 1 to 2 mm of each other, but when comparing to manufacturers data for beams, the ReCap measurements were within 0.5 to 1.5 mm.
- The ReCap measurements of individual items within a space were found to be significantly more accurate than manual measurements using tape measures and laser measurement devices in the confined areas with equipment blocking direct point-to-point measurement, causing inaccuracies.
Measurements made from scanned data are consistently more accurate than manual measurements.
4. Planning
Determine when to scan:
- Should be as early as possible in the design process.
- Suitable time depending on how the building is being used — evenings, weekends, etc.
- Get as many of the existing 2D drawings as possible.
- Plan the position and number of scans in advance to improve on-site efficiency — but remember, plans are not set in stone and will need to change depending on the actual site conditions.
Bring different types of equipment:
- Tripod-based scanner for accurate scans
- Handheld scanners for areas where high accuracy is required and where it is not possible to get the data using tripod-based scanners
- Handheld SLAM (simultaneous localization and mapping) scanners or 360 cameras for checking equipment logistics routes where accuracy is not so critical
5. Digital Elevator Site Survey
The Digital Elevator Site Survey is a method to improve both the accuracy and safety of the site survey by using digital methods to record the existing installation, such as 3D scanning (Lidar) or 3D photogrammetry (Figures 6 and 7). At KONE, we have started to use 3D scanning on installations with unusual building constructions. The examples we will discuss in this paper are from an observation tower with a circular shape and an inclined lift in a metro application. In both cases, a traditional site survey was difficult and prone to inaccuracies.
Improved safety — using 3D scanners eliminates the need for surveyors to reach or lean over handrails to get measurements. Also, scanners can be located in positions that are not possible for people to get into — for example, on the underside of an inclined lift counterweight.
6. Example Observations of a TV Tower
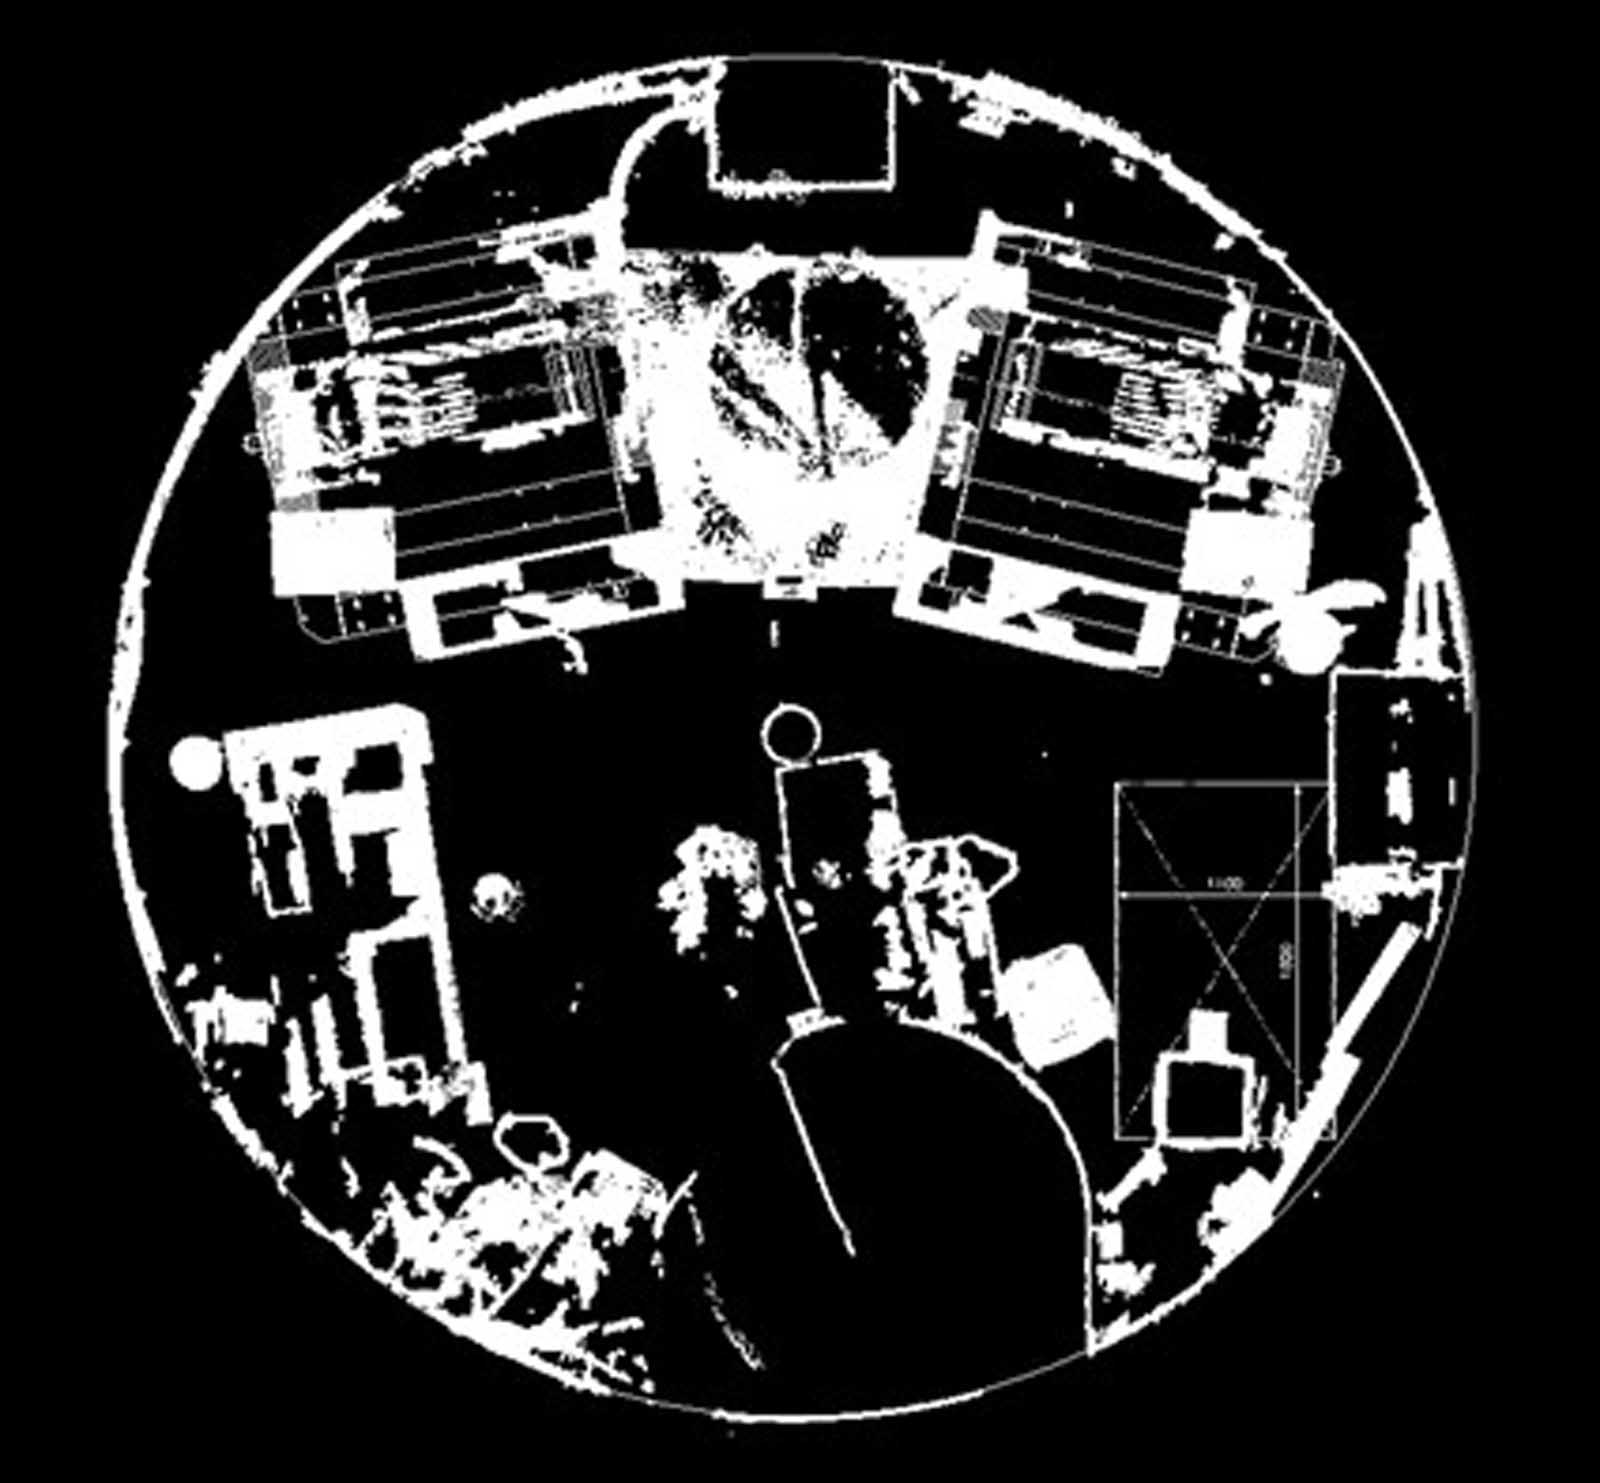
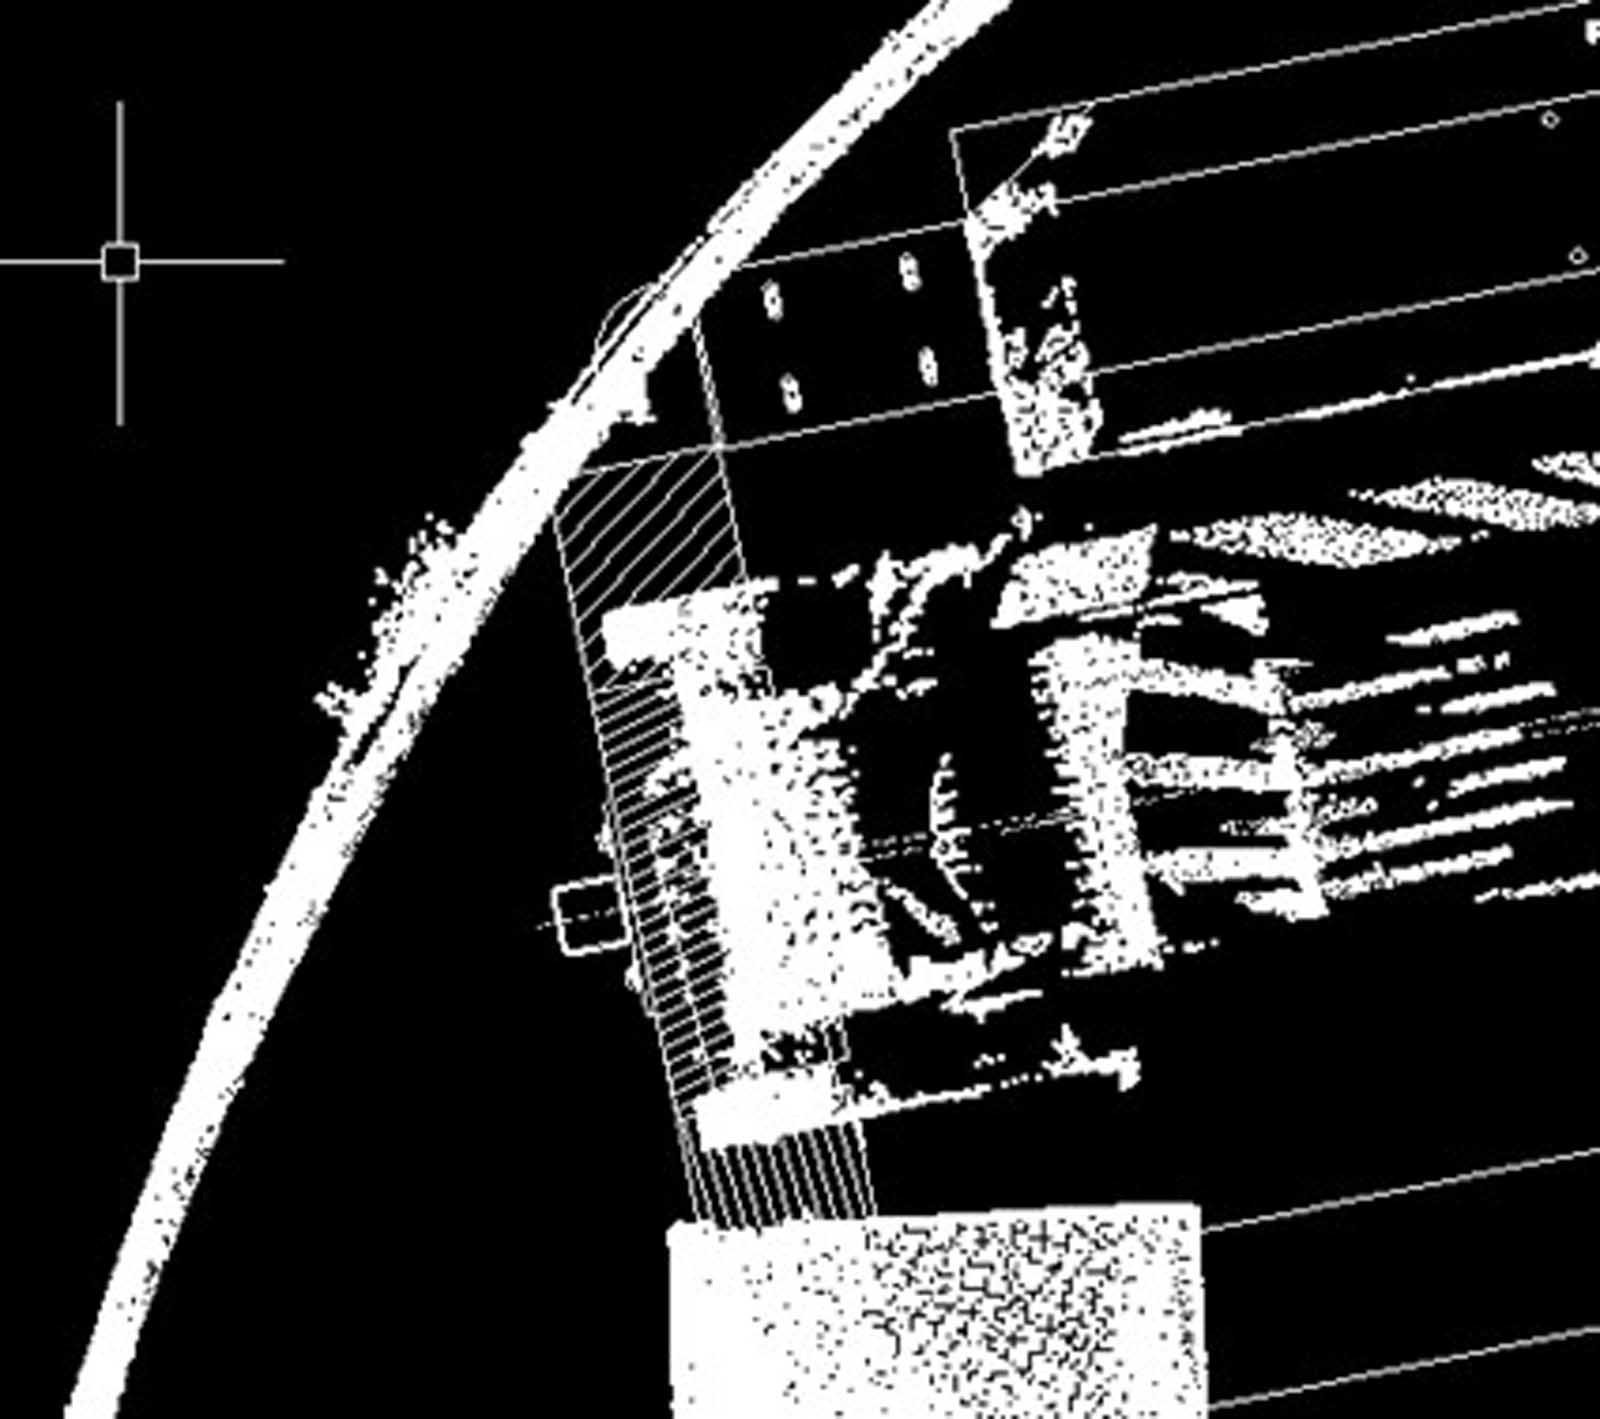
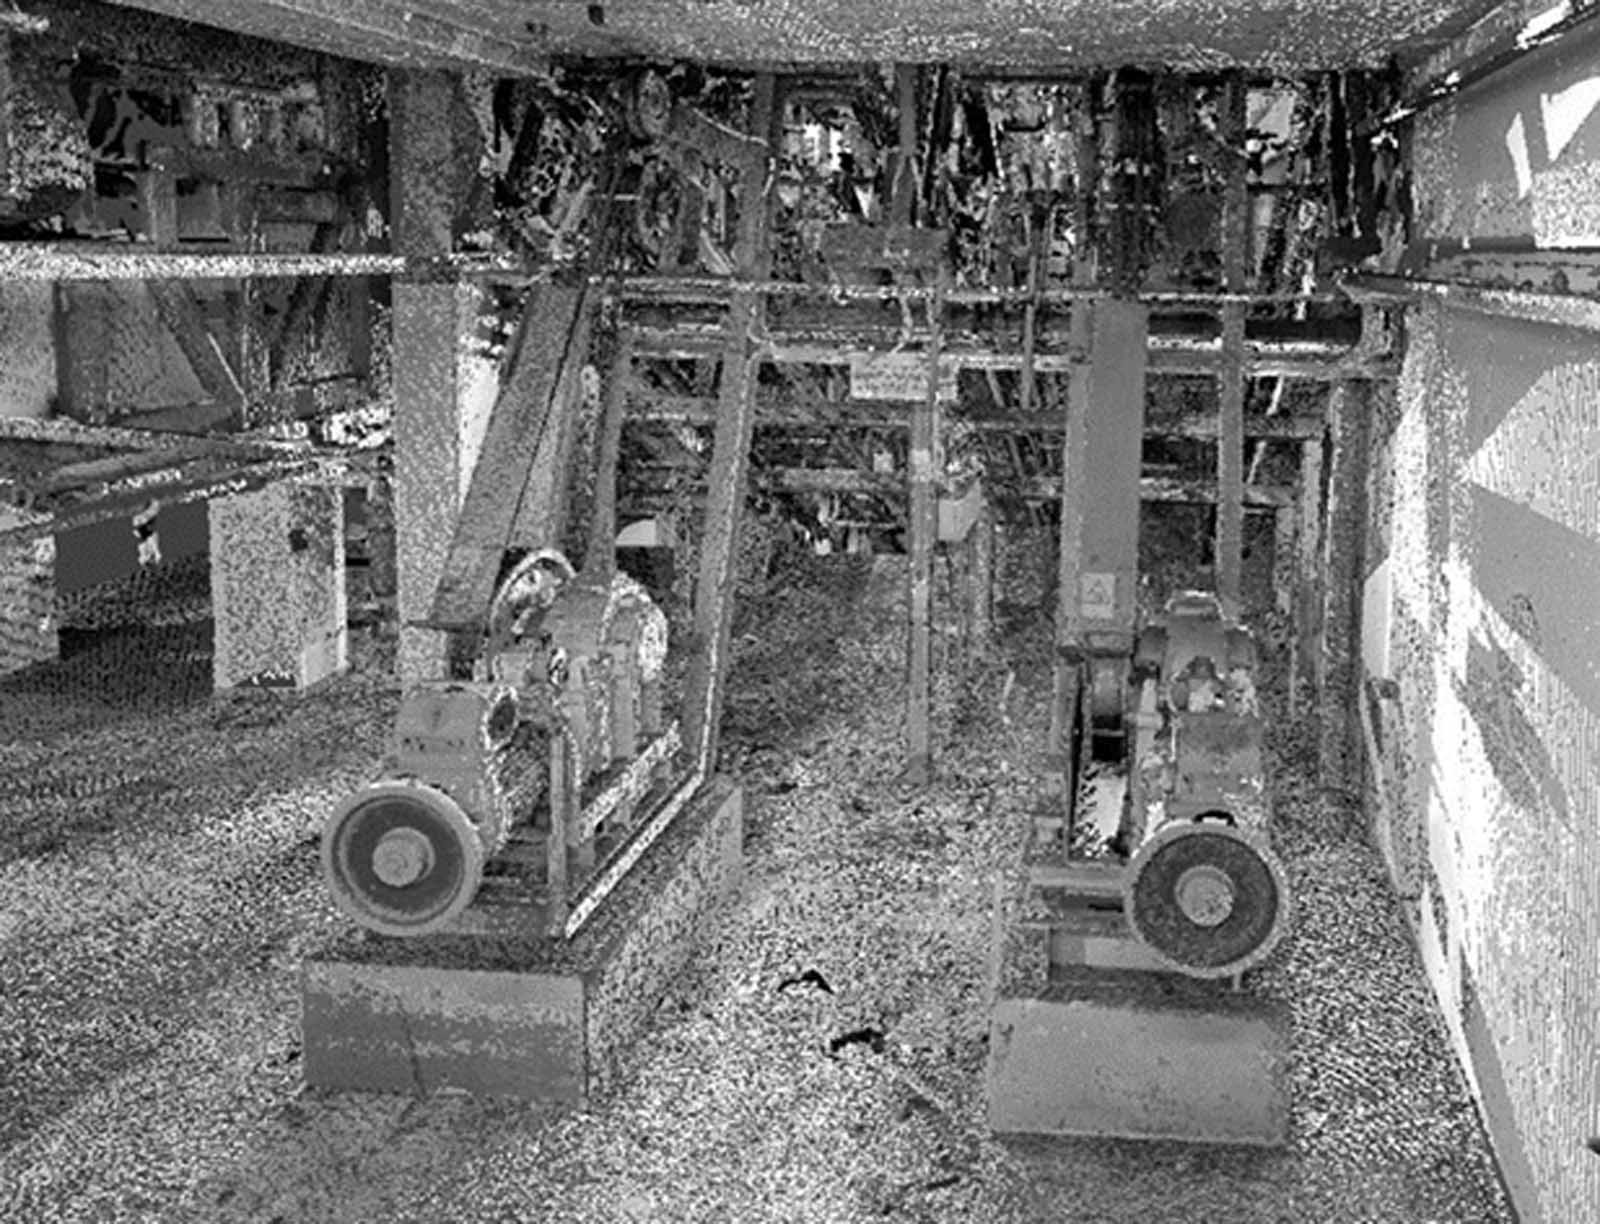
With this project, a traditional site survey was completed before the 3D scanning was performed. The 3D scanning shows that the machine room is slightly out of round. When the new machines and bedplates were overlayed onto the point cloud plan, a slight clash between the new bedplate on the lift on the top left and the wall was detected. This out of round was not detected during the traditional site survey due to the inability to accurately measure (as there were no easily used reference points) the shape of the machine room and the amount of equipment in a confined space, as shown in Figures 8 and 9.
7. Example of an Inclined Lift in a Metro
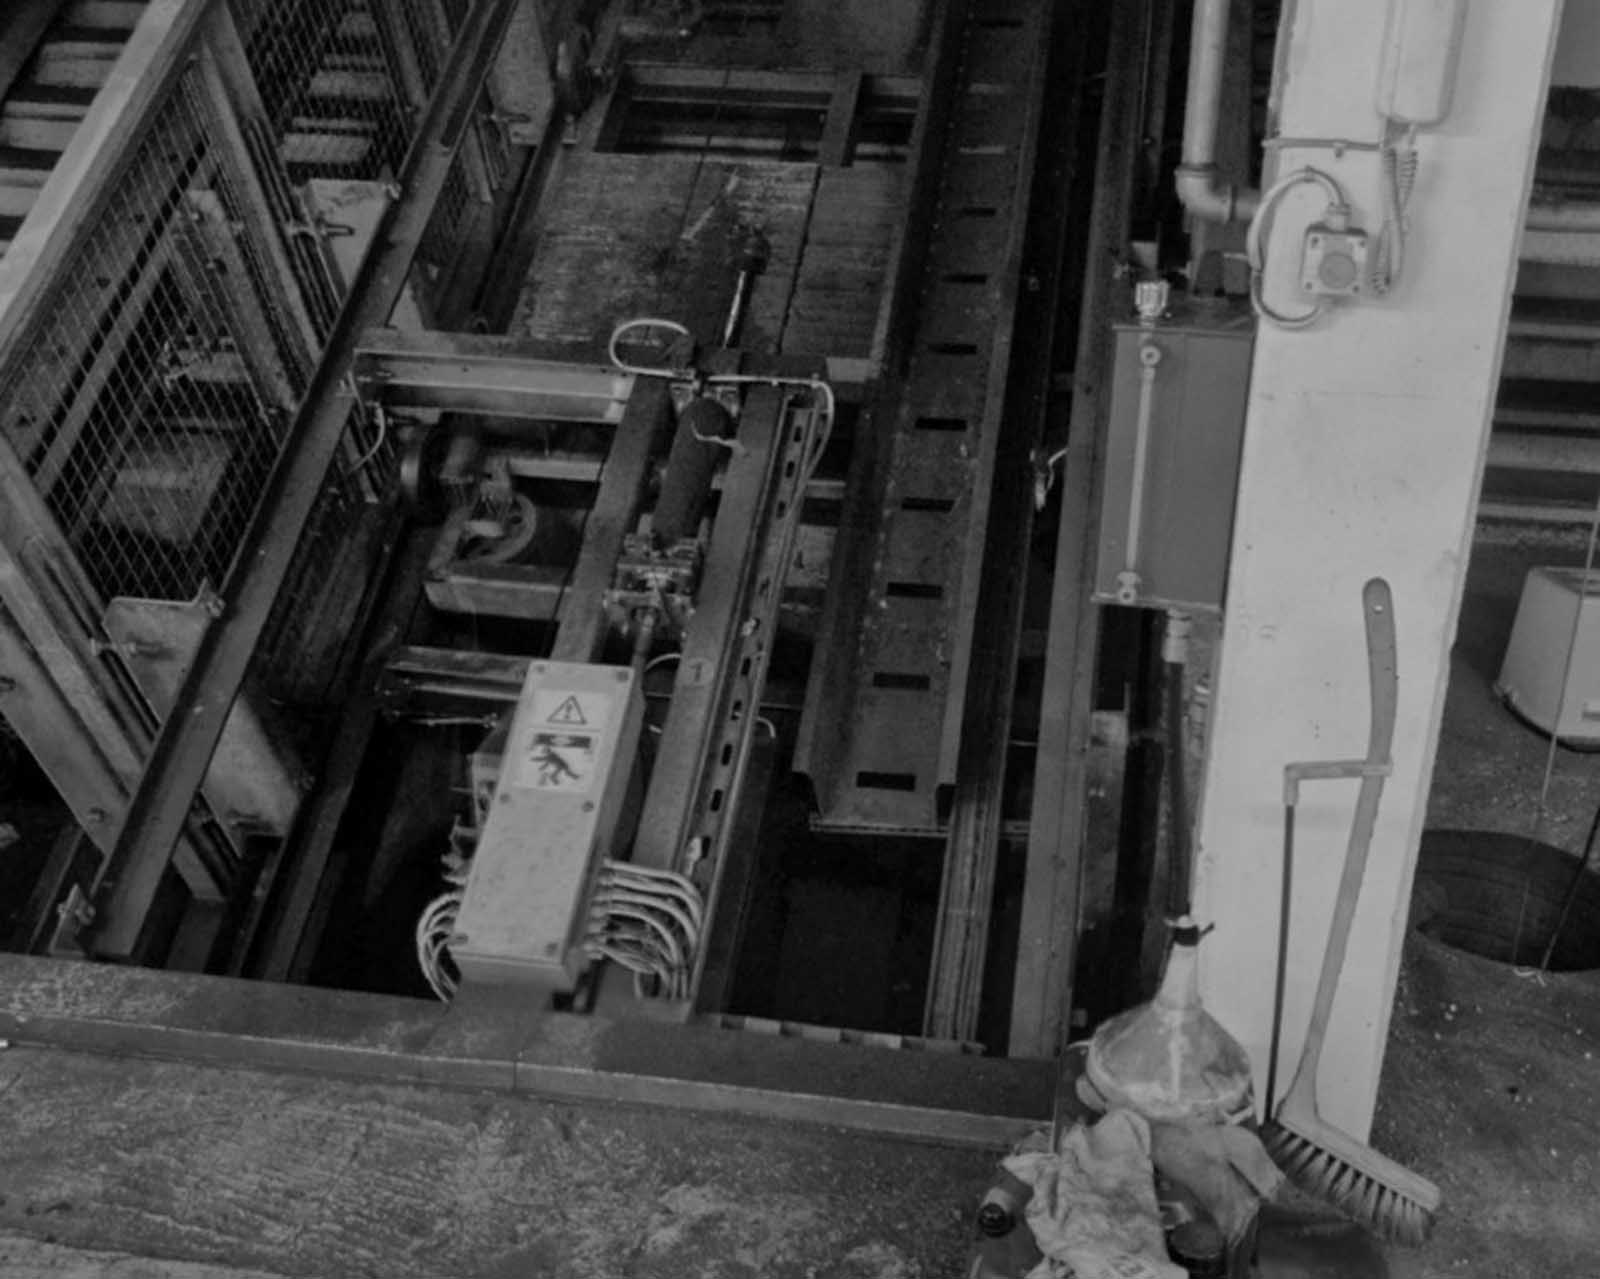
The inclined metro elevator is an extremely complex piece of equipment. A complete site survey of the elevatorm, including the structural steelwork, would take a few days, causing major disruption to the users of the metro station. The Digital Elevator Survey was completed in one afternoon, minimizing disruption to metro station operations.
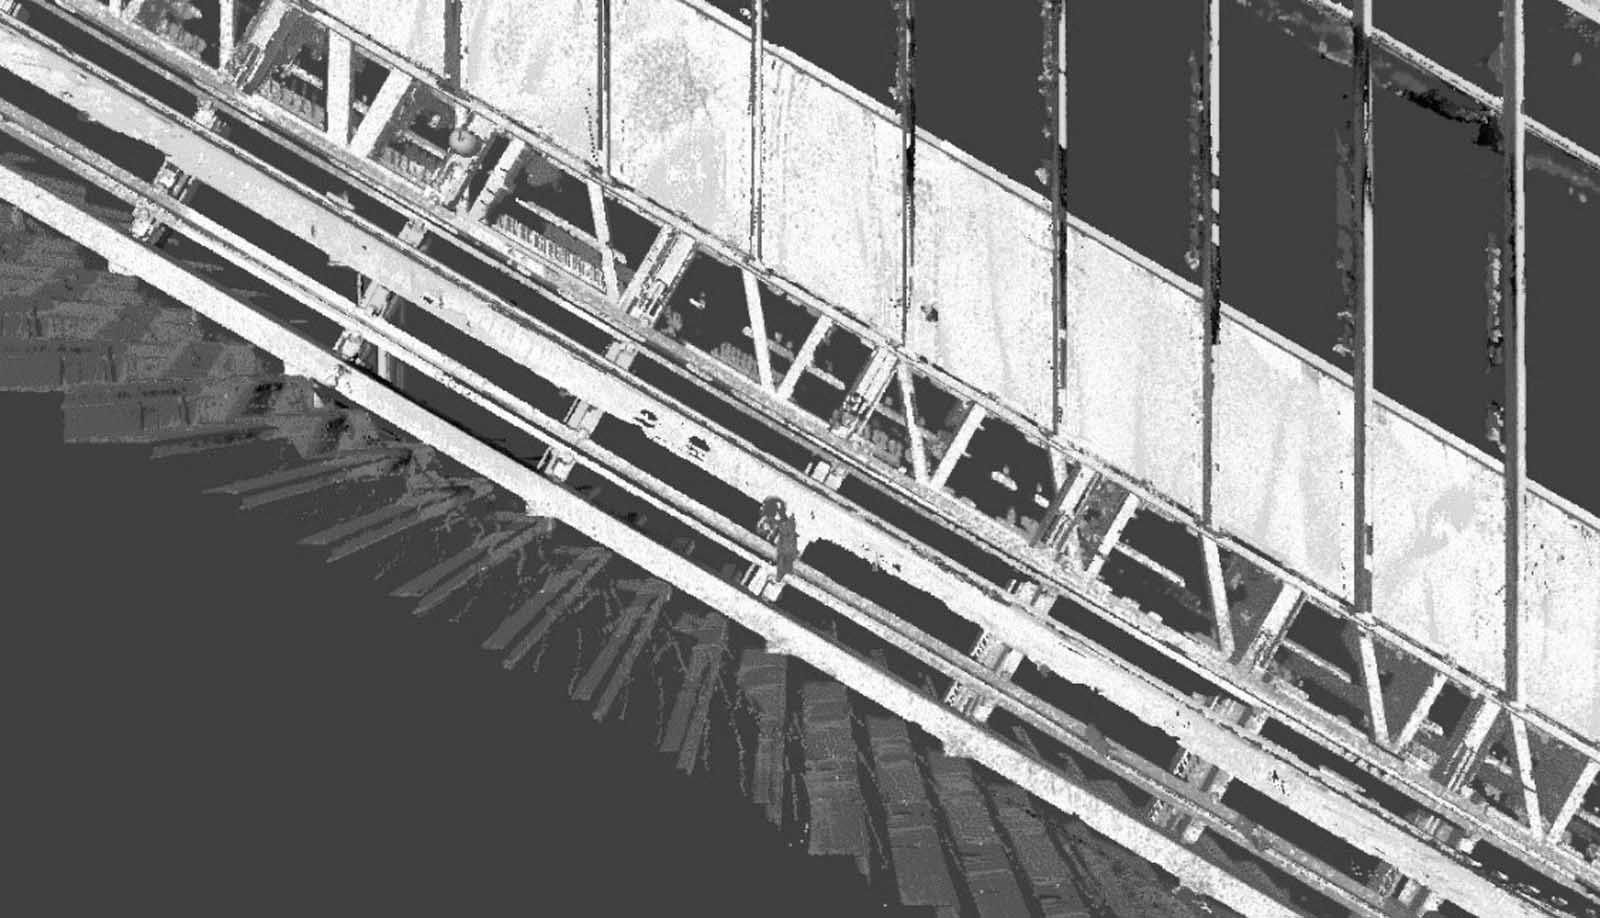
The digital elevator survey allowed for measurement of the elevator components and building structure in many more points than could have been made the traditional way (Figures 10, 11 and 12). As one side of the structure was irregular, it was possible to clearly determine the maximum clear dimensions of equipment that could be installed.
8. Other Uses for Digital Elevator Survey Data: Data Obtained During the Scanning Can Also Be Used for Items Other Than Engineering (Figure 13).
- Reviewing the installation process and improving site-specific methods to minimize risks
- Virtual Reality site-specific training
- Scan to BIM
- Virtual Reality survey — allows experts globally to collaborate “on-site” in the virtual space without traveling.
9. Conclusion
Transferring from traditional site survey methods to digital methods will improve the quality and safety of the site survey, therefore improving the engineering and the final modernized solution to be installed.
The current technology and cost of scanning means that making a digital elevator survey is not suitable for all cases, but it is ideal for cases with unusual geometry where the required accuracy is not attainable in a cost- and time-effective way using traditional methods. But it is expected that, as the scanners and other digital recording and measuring devices become cheaper, more accurate and easier to use, these methods will become the normal way to make site surveys in the future.
The advantages of using a digital elevator survey are:
- All the physical attributes are captured, even those not normally measured by hand.
- Data can be used by everyone: no need to interpret others’ sketches and notes.
- First-time right engineering solution
By using innovative tools and solutions, one can fully understand existing elevator installations and how they are being used. This allows the development of the correct modernization solution that gives maximum benefit to building owners and users by ensuring first-time right-engineered solutions and minimizing disruption to building operations.
Darren Batey received an associate diploma with honors in mechanical engineering from Sydney Institute of Technology, Australia, in 1997. He has worked in the elevator industry since 1986 and has been employed by KONE since 1998 in various technical, sales support and development roles. He has been involved in many significant projects during this period — to name just a few: Bloomberg London HQ, Jeddah Tower, Q1 Tower Gold Coast, Spinnaker Tower Portsmouth, Arcos Bosques Mexico City, Hyatt Centre Chicago and 88 Phillip Street Sydney.
References
Batey, D., & Kontturi, M. Traffic analysis for high rise buildings to be modernized. Elevator Technology 21–Proceedings of Elevcon 2016, 26-35.
Tyni, T., Kontturi, R., & Perälä, P. (2012). Electric site survey–on quest of elevator parameters. In The International Congress on Vertical Transportation Technologies, Elevcon (No. 19).
ProntoForms (2023). Intuitive mobile forms for a deeply connected field team. Available from prontoforms.com
SmartSiteSurvey (2023). SmartSiteSurvey App for Elevator Modernization Business. Available from xecomit.com/smart-site-survey
Get more of Elevator World. Sign up for our free e-newsletter.
